

2067 Front Bulkhead V2 – Right Side Installation Guide & Details
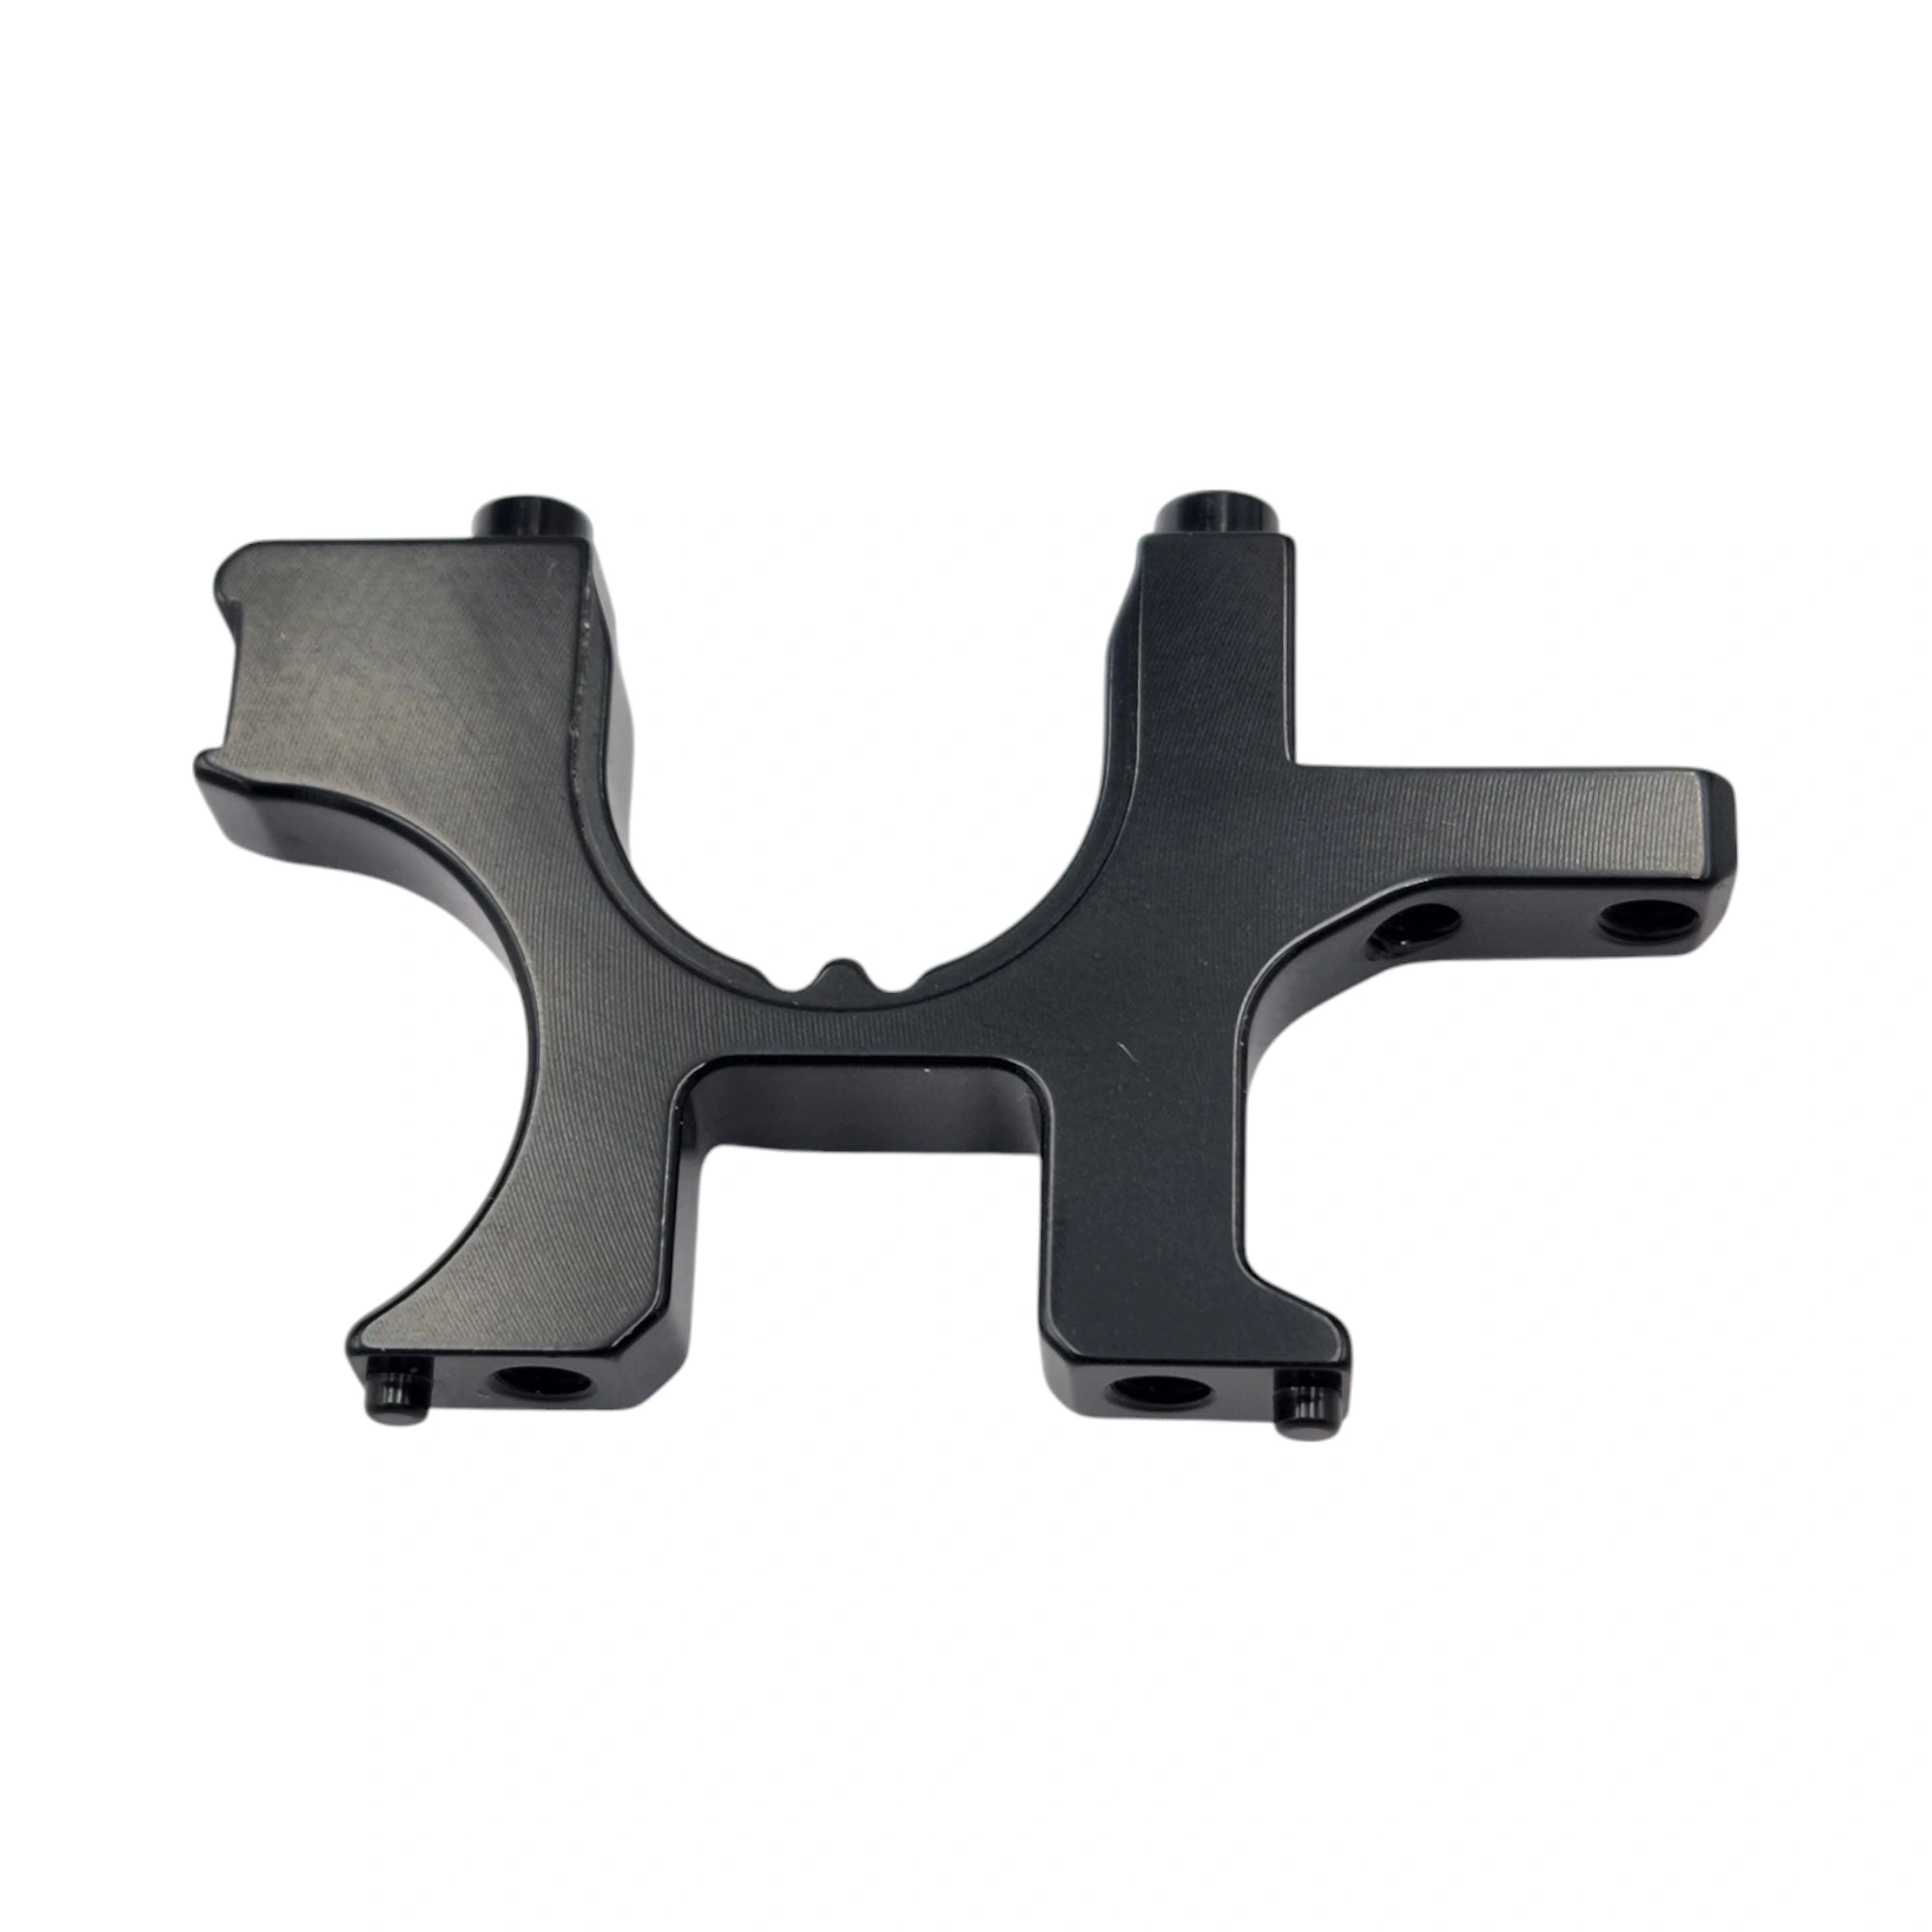
2067 Front Bulkhead V2 – Right Side Installation Guide & Details
Ready to level up your RC MAKER SP1/SP1-FF? This guide dives into the installation and details of the 2067 Front Bulkhead V2 (Right Side), a game-changer for enhanced performance and durability.
Key Features:
- Premium Material: Crafted from robust 7075 T6 aluminum, offering superior strength.
- Enhanced Durability: Designed to withstand the rigors of intense RC action, minimizing wear and tear.
- Sleek Finish: Features a stylish black anodized finish, providing a premium look.
- Precision Engineering: Ensures a perfect fit and optimal performance.
The 2067 Front Bulkhead V2, ready to install and conquer.
Installation Steps:
Here's a simplified guide to get you started. Remember to consult your RC MAKER SP1/SP1-FF manual for specific torque specs and detailed instructions.
- Disassembly: Carefully remove the existing front bulkhead on the right side of your chassis. Take photos if you need to for reference.
- Preparation: Clean any debris from the mounting area.
- Installation: Align the 2067 Front Bulkhead V2. Secure it with the provided screws. Tighten the screws evenly, ensuring proper alignment.
- Verification: Double-check all screws are snug and nothing is loose. Test the operation of any associated parts.
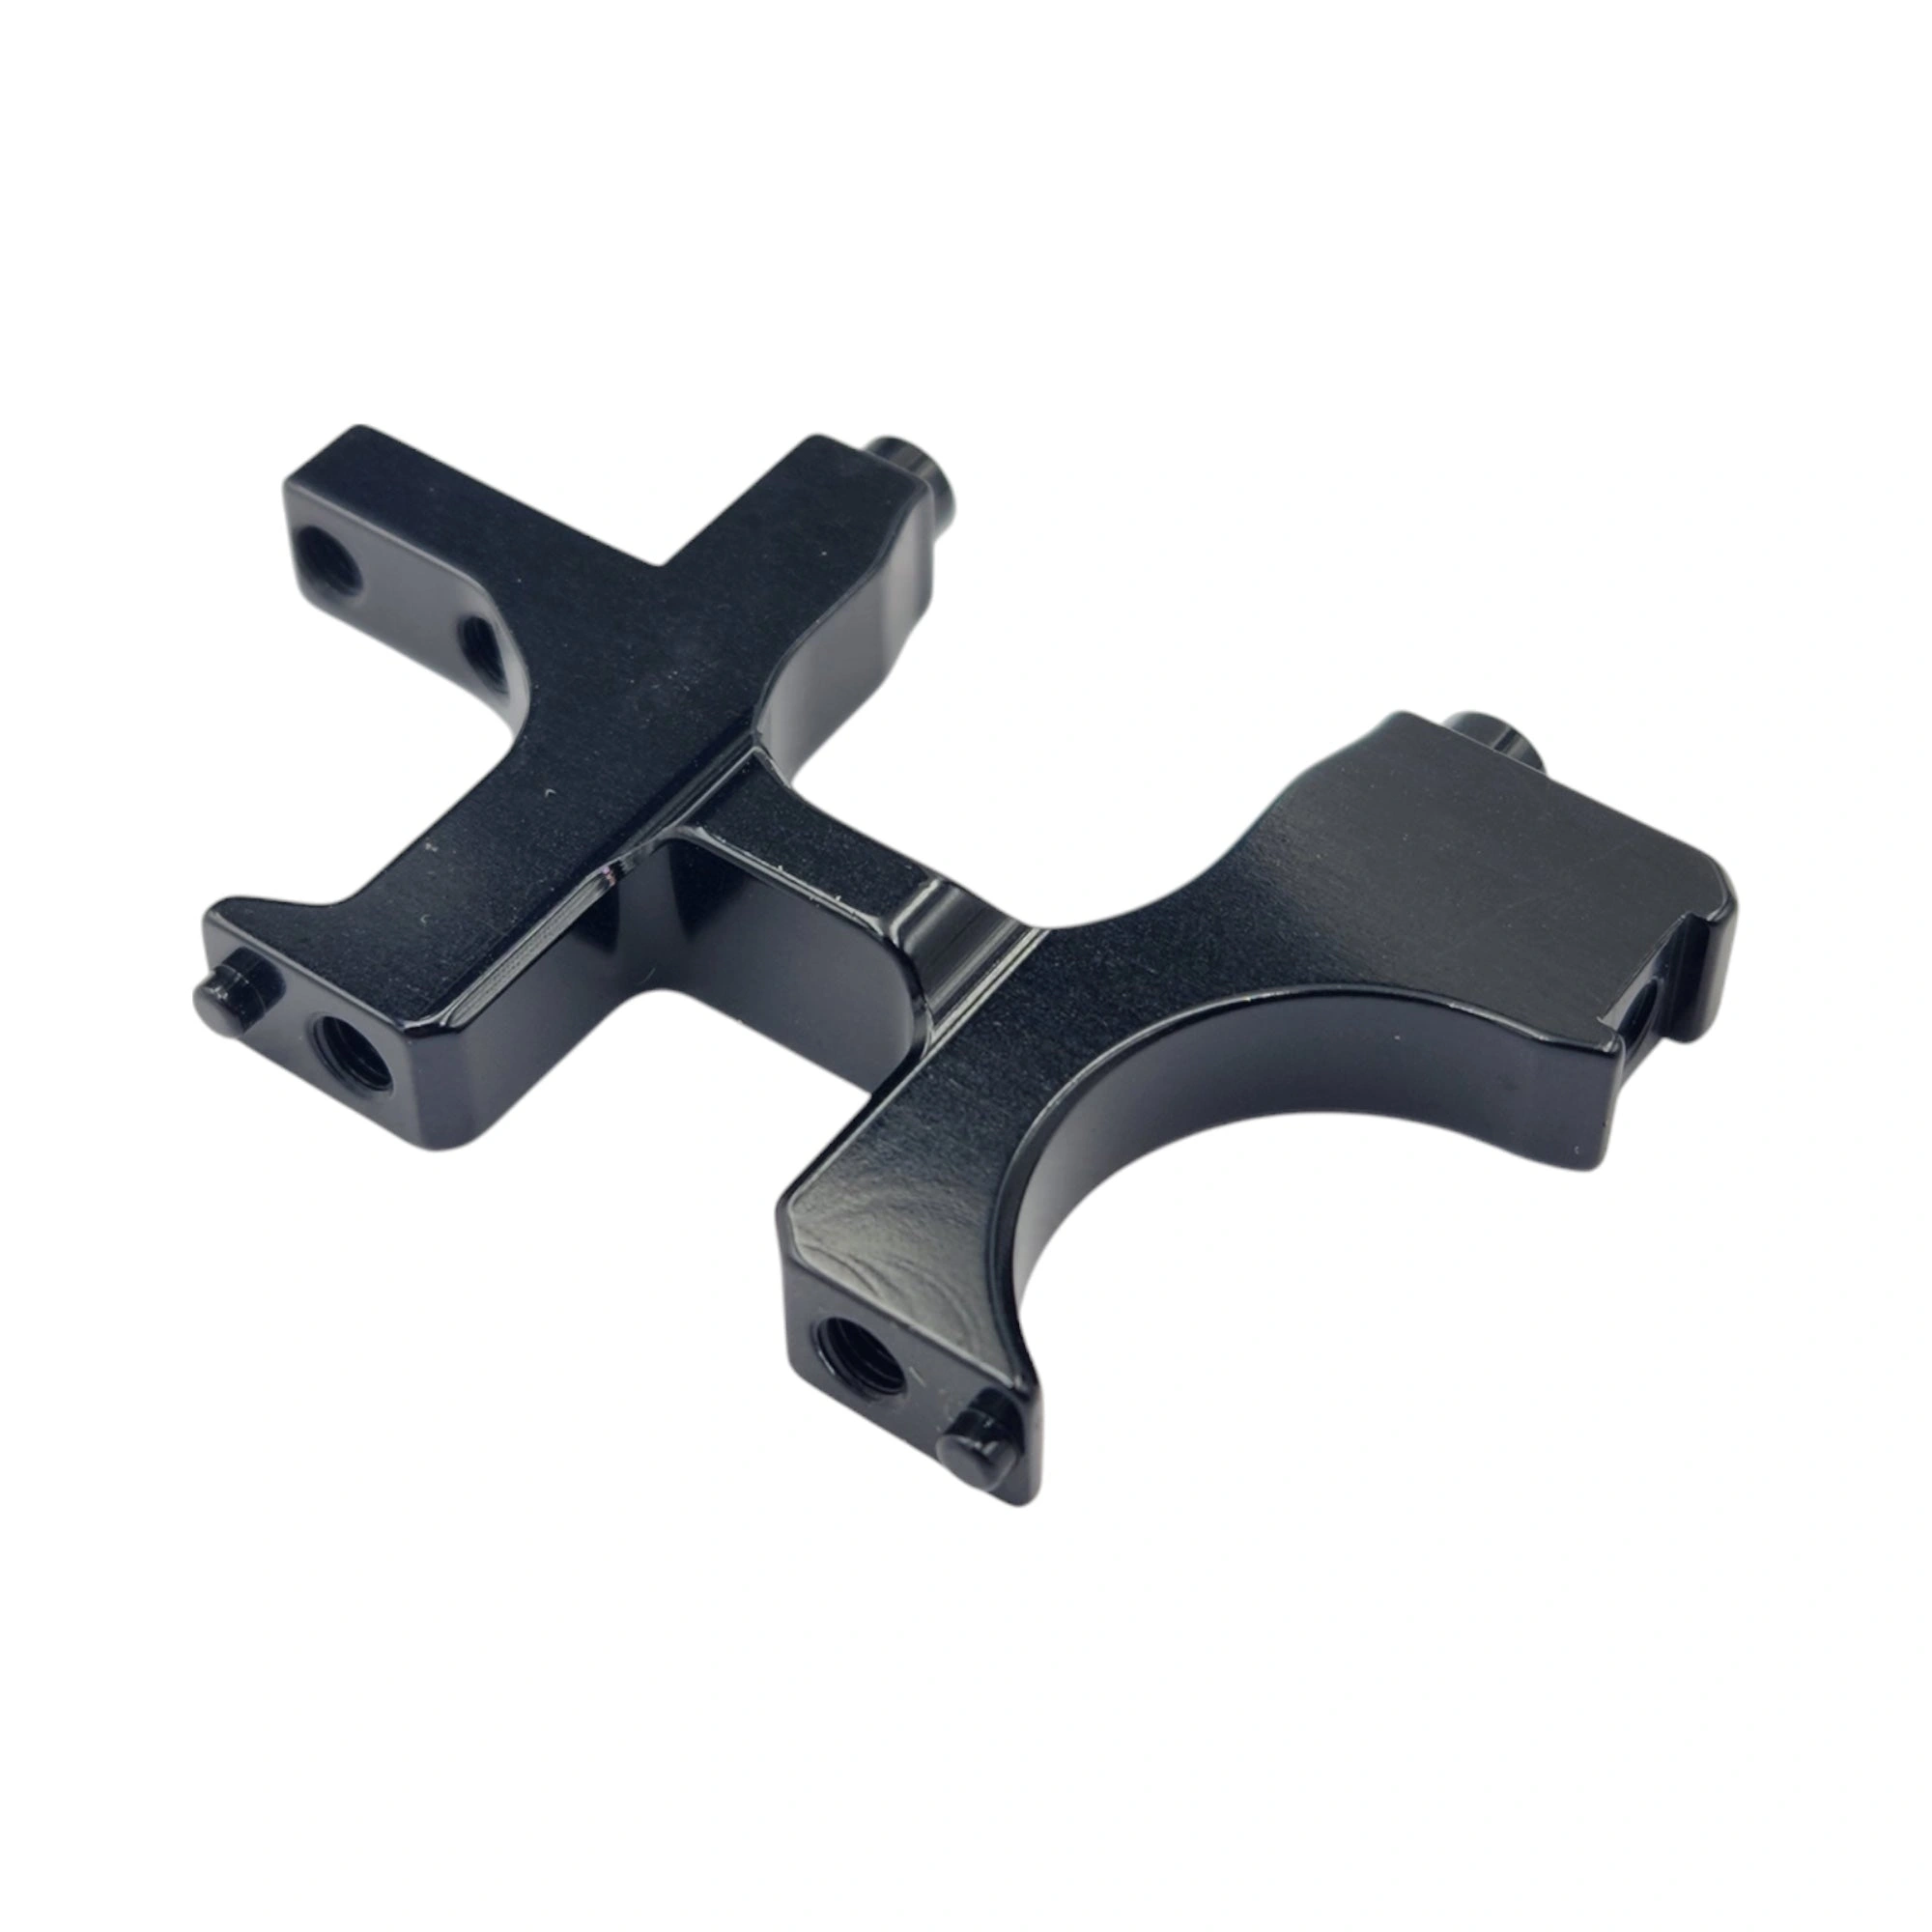
The installation process in action. Get ready to feel the difference!
Why Upgrade?
The 2067 Front Bulkhead V2 isn't just about looks; it's about performance. The 7075 T6 aluminum offers superior strength and durability compared to stock components. This means less flex, improved handling, and a longer lifespan for your RC car. The black anodized finish not only looks great, but also adds an extra layer of protection against corrosion.
Experience the difference with increased durability and performance.
Ready to take your RC MAKER SP1/SP1-FF to the next level? The 2067 Front Bulkhead V2 is a great upgrade. Get yours today and experience the difference!
RCM-SP-2067